匿名認証の許可
全ユーザーがシステムに予め登録したユーザーアカウントの権限で自動的にログイン認証できるようになります。
ログイン画面は表示されません
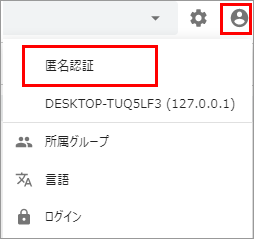
別のユーザーアカウントでログインし直すことができます。
匿名認証の設定
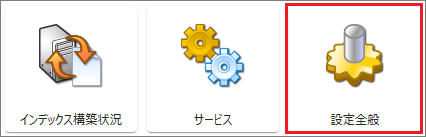
[管理ツール > 設定全般]を選択します。
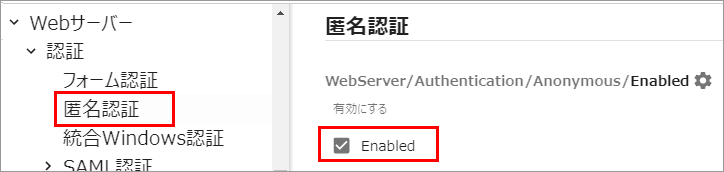
[すべての設定 > Webサーバー > 認証 > 匿名認証]を選択します。
[Enabled]にチェックを入れます。
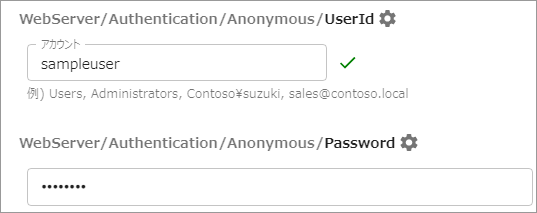
[Userid]に匿名認証に使用するWindowsアカウントのユーザーIDを入力し、[Password]にそのアカウントのパスワードを入力します。
[保存する]を選択後に[今すぐ再起動する]を選択してサービスを再起動します。